How To Host Your Own Chocolate Tasting
Taste Chocolate Like A Pro
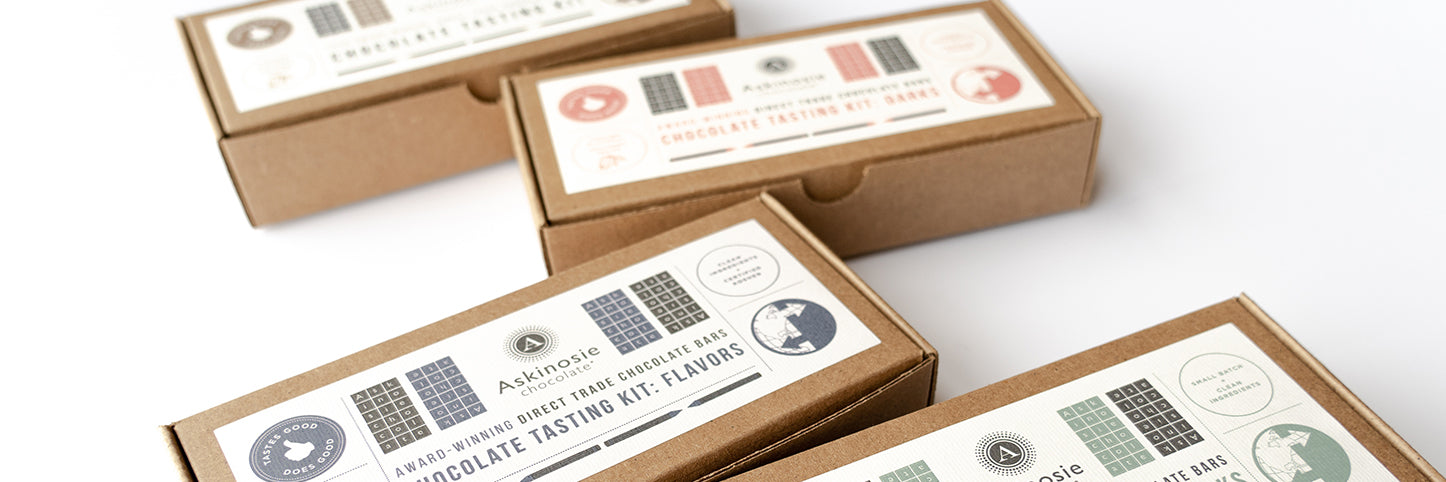
Hosting a chocolate tasting doesn’t need to be intimidating! Anyone can do it, and we make it easy with our contains-everything-you-need Chocolate Tasting Kits.
Here’s What You’ll Need:
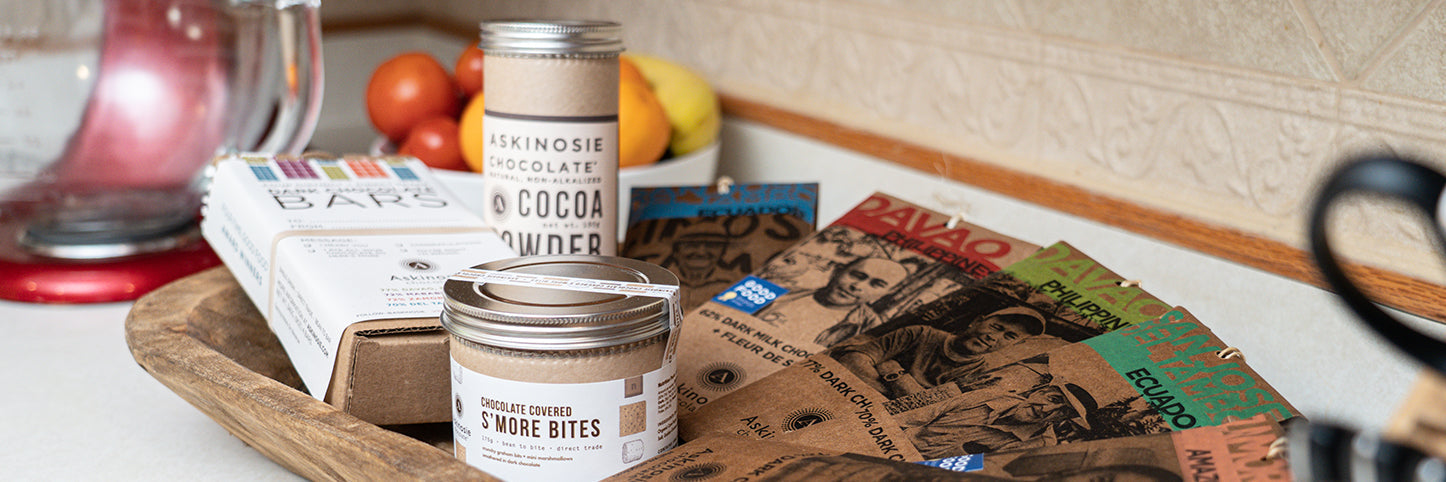
- A variety of chocolate bars. Ideally you’ll want different percentages of cocoa content, or cocoa origins, or even inclusions (the industry term for “stuff on the back of the bar”). 4 is a great number of bars, it’s enough to taste the distinctiveness of each one without overwhelming your taste buds. But the more the merrier! Taste 8 bars if you please, even mix up the brands if you’d like (you could choose to taste chocolate bars made with cocoa beans from one place, like Ecuador, across different chocolate makers to compare and contrast roast profiles, cocoa content and how that impacts the flavor!). You are the master of your chocolate-tasting destiny.
- Some water as a palate cleanser.
- Something on which to serve the chocolate and ID the bars, unless you’re doing a blind tasting (which can be fun to make guesses as to the percentage, origin, flavor or inclusion).
- Paper & pens to write down your tasting notes.
- A flavor wheel, if you and your guests aren’t as familiar with flavor words. A flavor wheel isn’t a necessity, but we do make it easy by providing one in our Chocolate Tasting Kits.
How To Taste Chocolate, Step-By-Step:
You’ll engage all five of your senses during a tasting...
- Look: unwrap your chocolate bar (if you haven’t already), inspect it visually. What is the color like, especially as compared to the other chocolate? Deep brown or more muted? Is the finish shiny or dull? What else do you notice?
- Listen: break off a square of chocolate, do you hear a snap? A good, audible break is indicative of a good temper. A milk chocolate or white chocolate may still be well-tempered but have a softer break due to the higher fat content.
- Smell: you’ve all read that taste is seventy-percent smell, well it’s true! Before you taste, be sure to get a good whiff of the bar first as the aroma will influence your taste buds. What scents do you notice?
- Taste: place the piece of chocolate on the center of your tongue--don’t chew yet!--and press it to the roof of your mouth. Let it melt for a moment and breathe in, then start to chew. Chew slowly, letting the chocolate coat your tongue. What flavors do you notice? Maybe something herbal or floral or fruity? Can you compare it to your favorite coffee, beer or wine? Maybe it reminds you of a favorite place, or a memory! Here is where the flavor wheel in our Chocolate Tasting Kit can be helpful, to assist you in identifying flavors you might not otherwise be able to pinpoint.
- (Mouth) Feel: As you finish chewing your piece of chocolate, notice texturally how it feels in your mouth. Is it rough or smooth? What is the finish like? Is it strong and lingering? Or soft and quick?
You can use these tasting techniques any time you want a moment of mindfulness, actually. Sometimes it’s just nice to savor something you enjoy. Maybe you don’t have 15 minutes in your day for meditation, but most of us have a couple of minutes to linger on a sip of coffee or tea, or a bite of chocolate.
Finally: One of the questions we’re often asked is how much chocolate is ideal, per person, for a tasting. That, our friends, depends entirely on the appetites of those tasting! Here’s what we recommend: around .5 oz per person. Depending on how many bars you’re tasting, some folks may want closer to 1 oz (for reference, our chocolate bars are 3 oz) but that’s more for snacking. For a true tasting, a couple of bites will do. When we lead formal tastings, we typically offer just a square of our bars! Looking to host a virtual chocolate tasting for your company or team? Contact our Corporate Gifts team who can share about our virtual chocolate tastings as well as special gift options, including customization.
Written by Kaylyn McCune